Enabling Dagger in IntelliJ
I had a hard time getting Dagger to work in IntelliJ, so I’m writing down the steps so you will have an easier time at it.
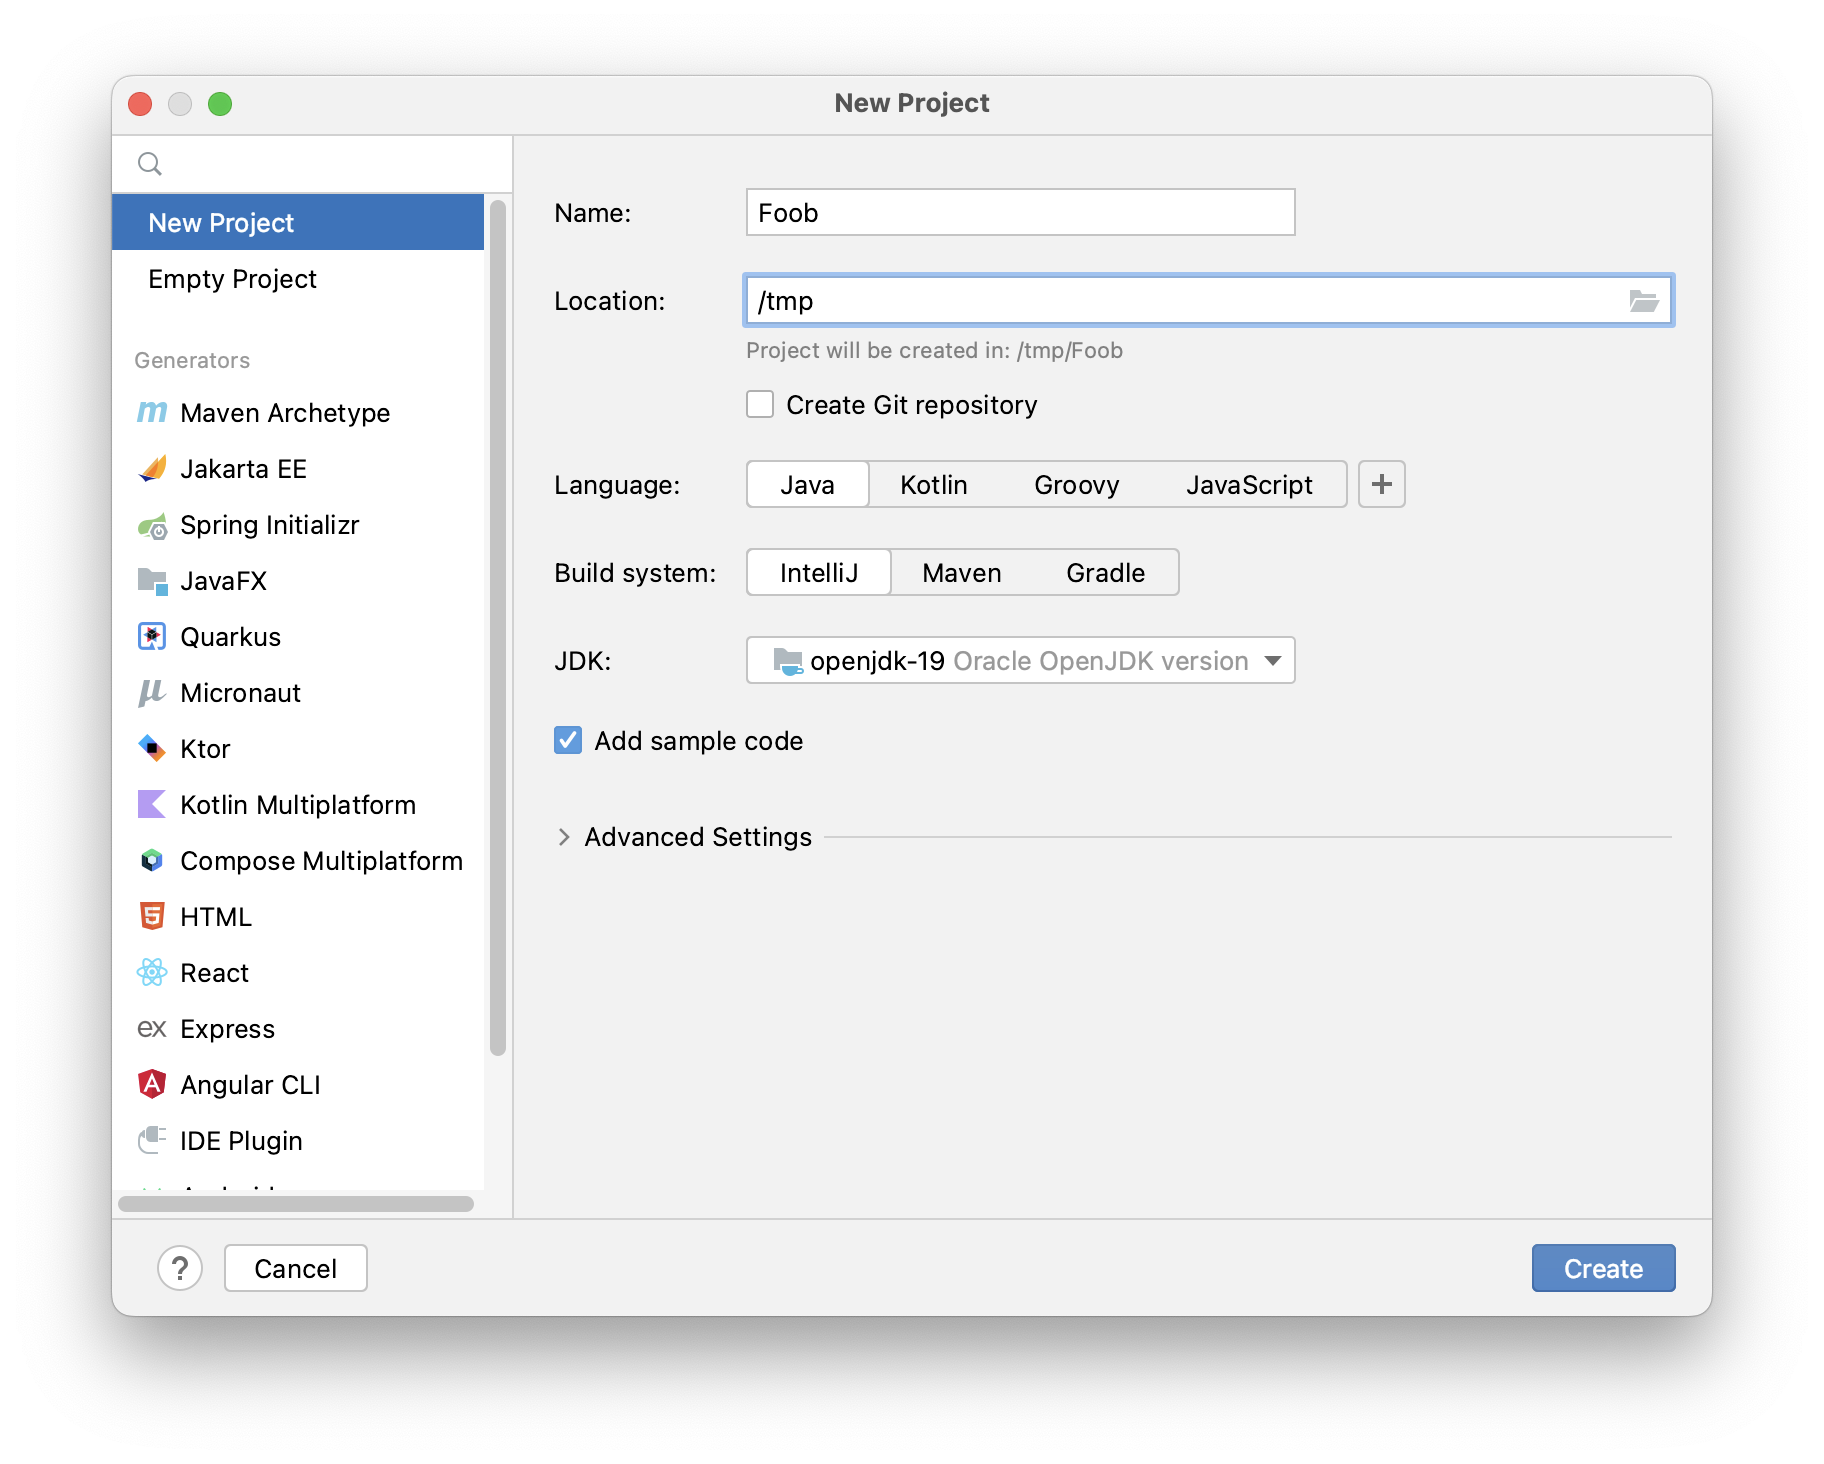
Create a Java project using the usual settings.
Add Dagger2 dependencies to your project
- Open your project’s module settings by right-clicking on your top-level project icon, and selecting
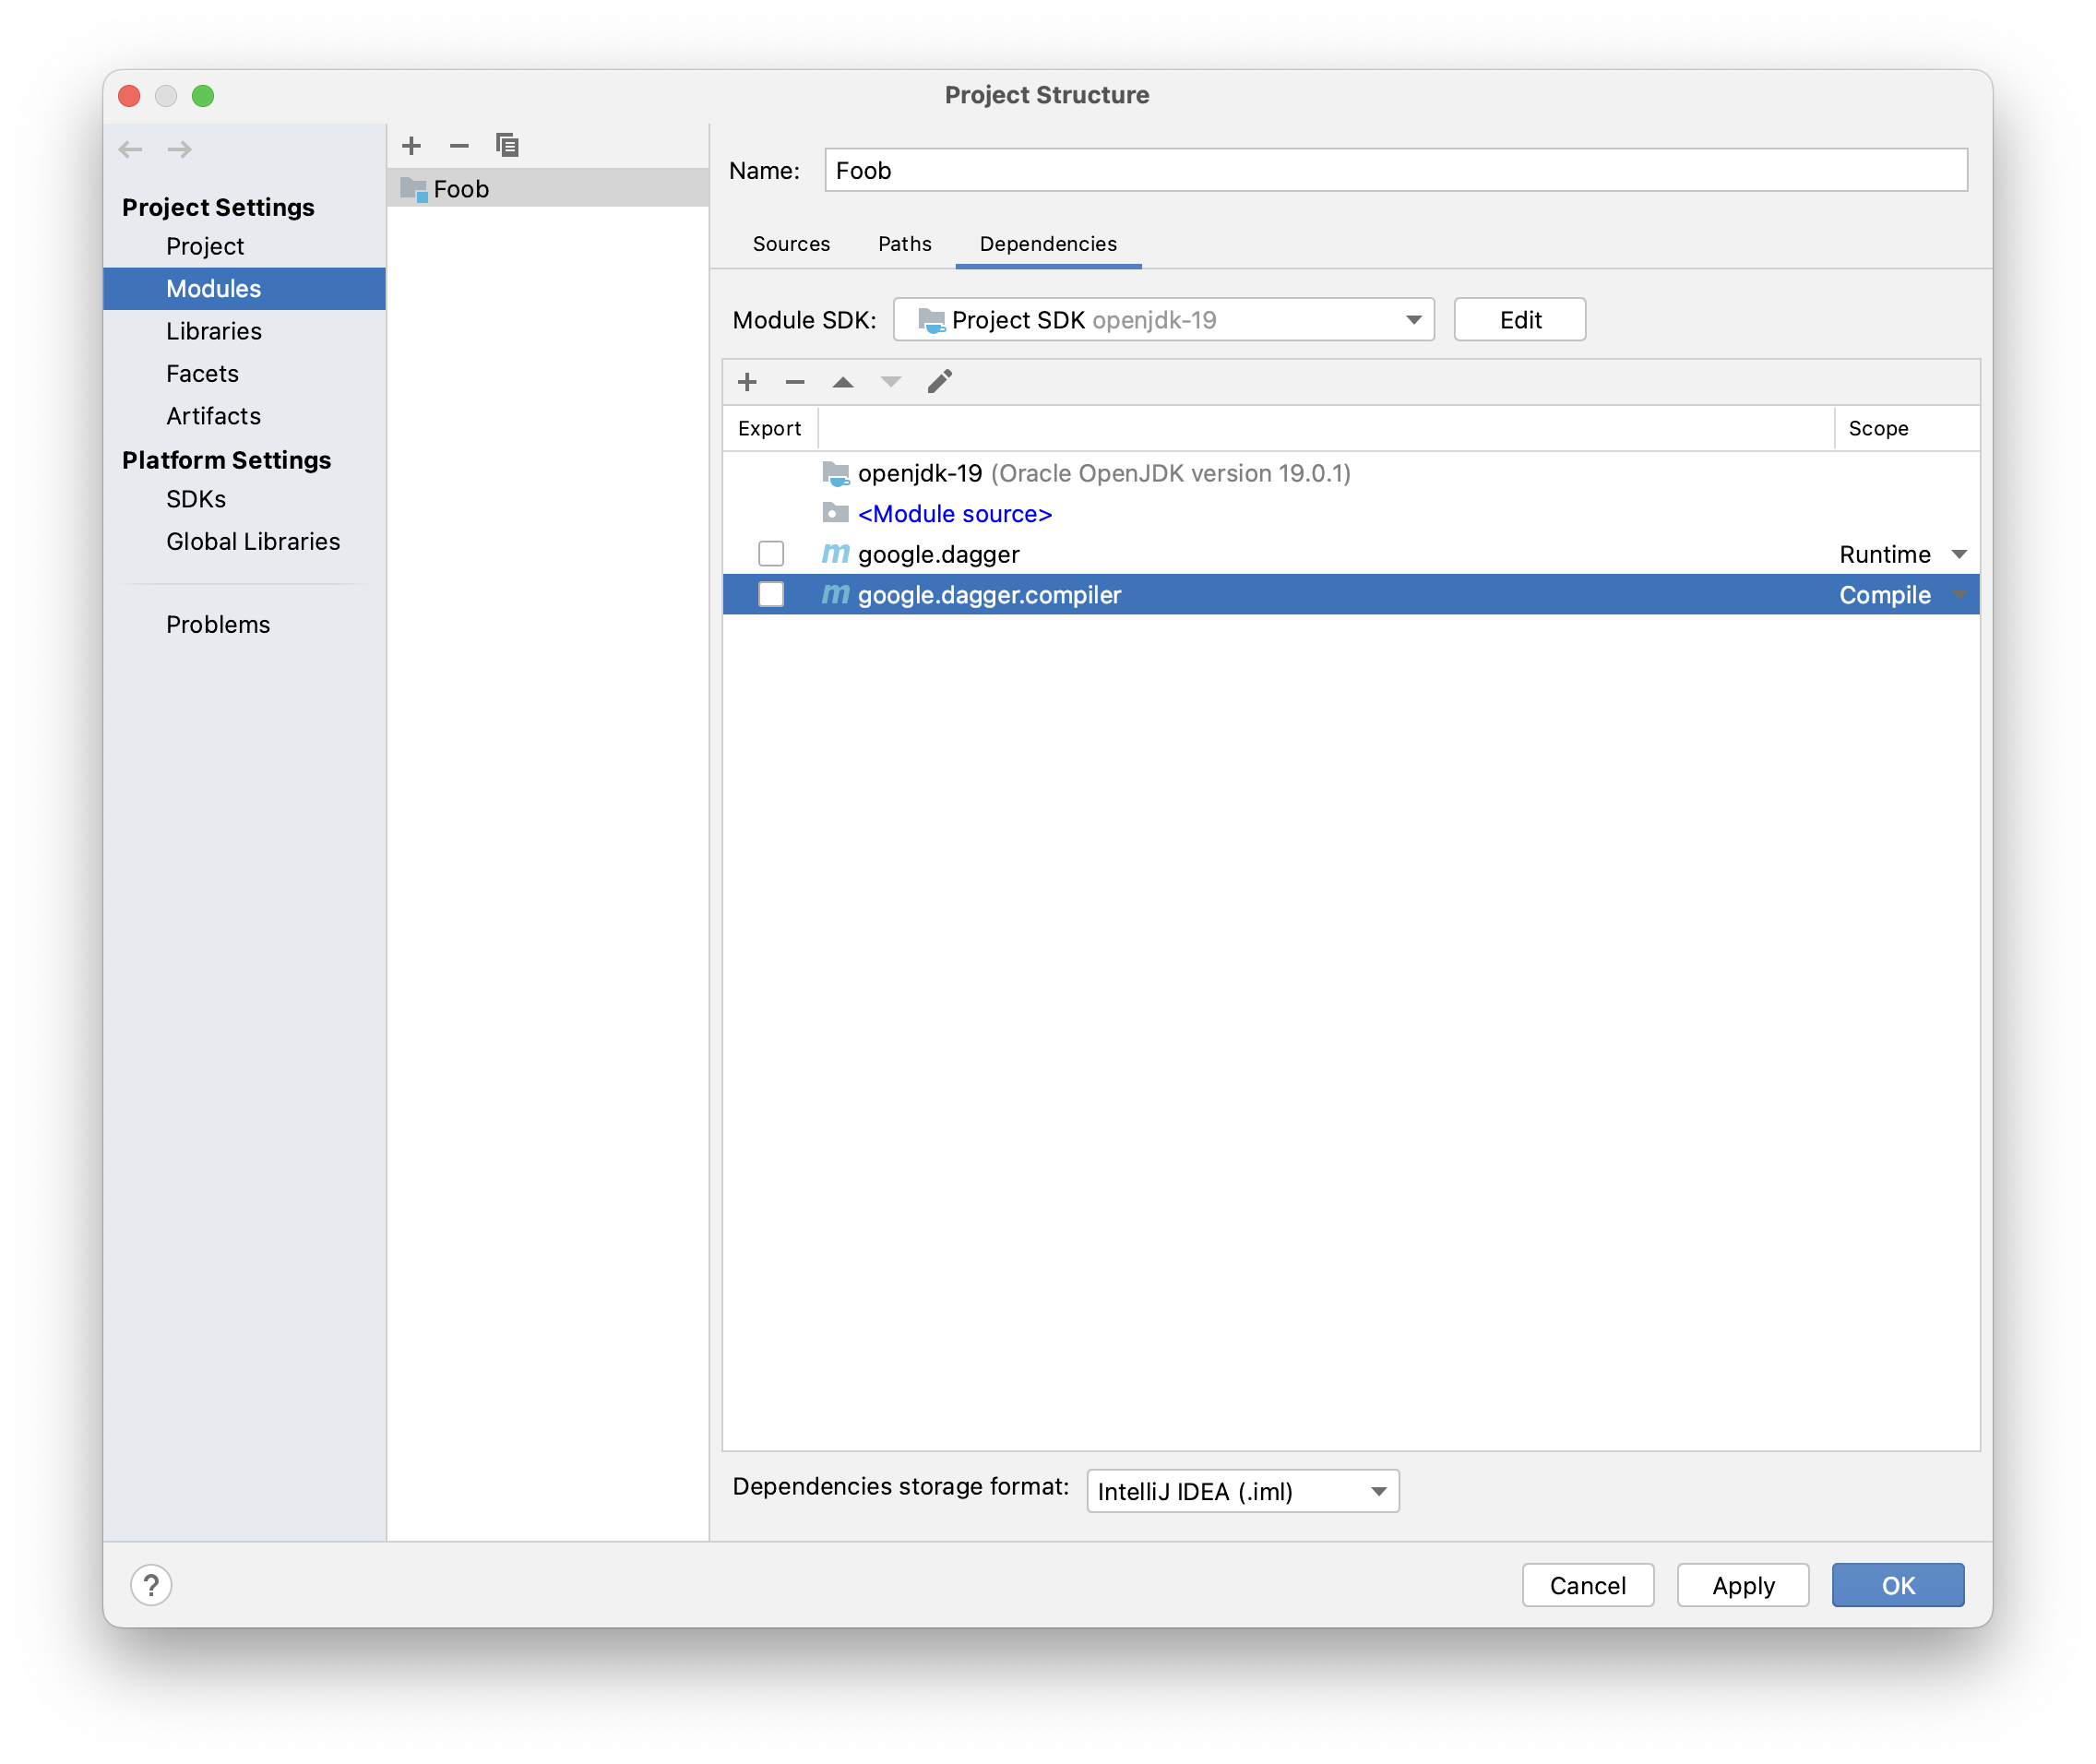
Open Module Settings. - Click on the
Dependenciestab. - Add a runtime dependency:
- Press the
+button. - Select the
Library…From Mavenoption. - Enter
com.google.dagger:dagger:in the search field.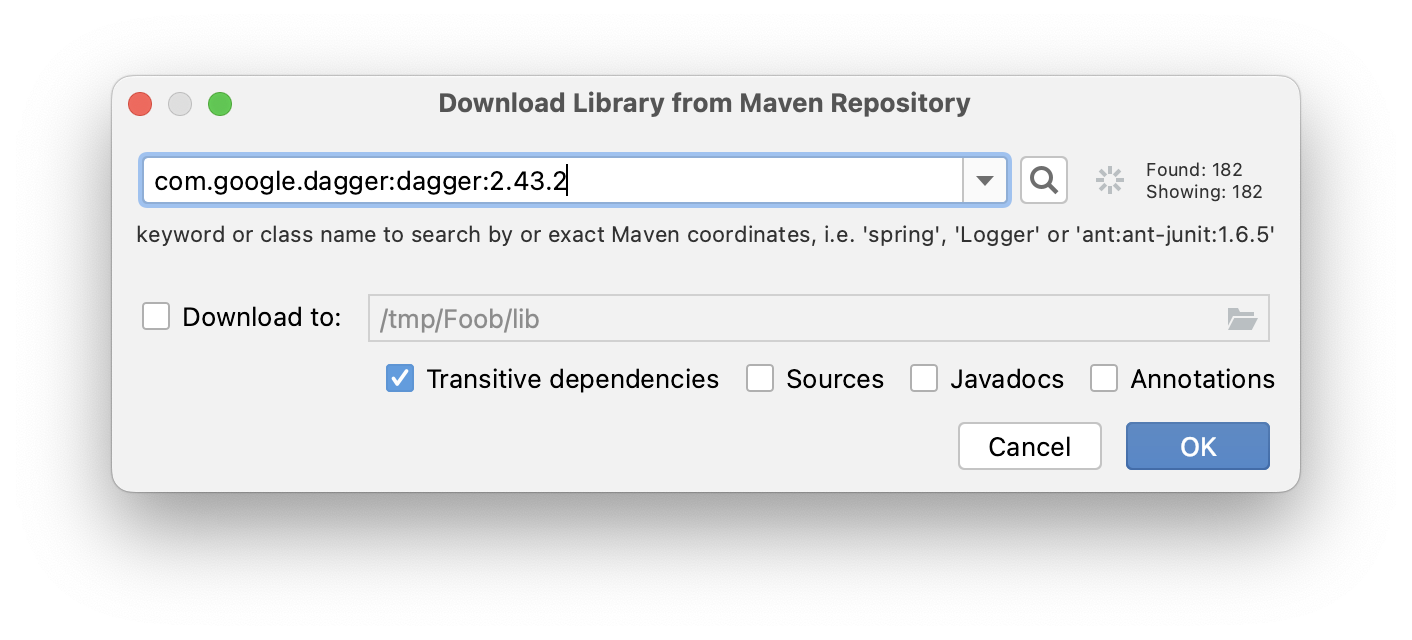
- Select one of the versions (remember this version number)
- When you return to the dependencies view, select the
Runtimescope for the dependency.
- Press the
- Add a compile-time dependency:
- Press the
+button. - Select the
Library…From Mavenoption. - Enter
com.google.dagger:dagger-compiler:in the search field. - Select the same version number as the module you selected above.
- When you return to the dependencies view, select the
Compilescope for the dependency.
- Press the
Enable annotation processor support in the IDE
- Open the IntelliJ preferences pane.
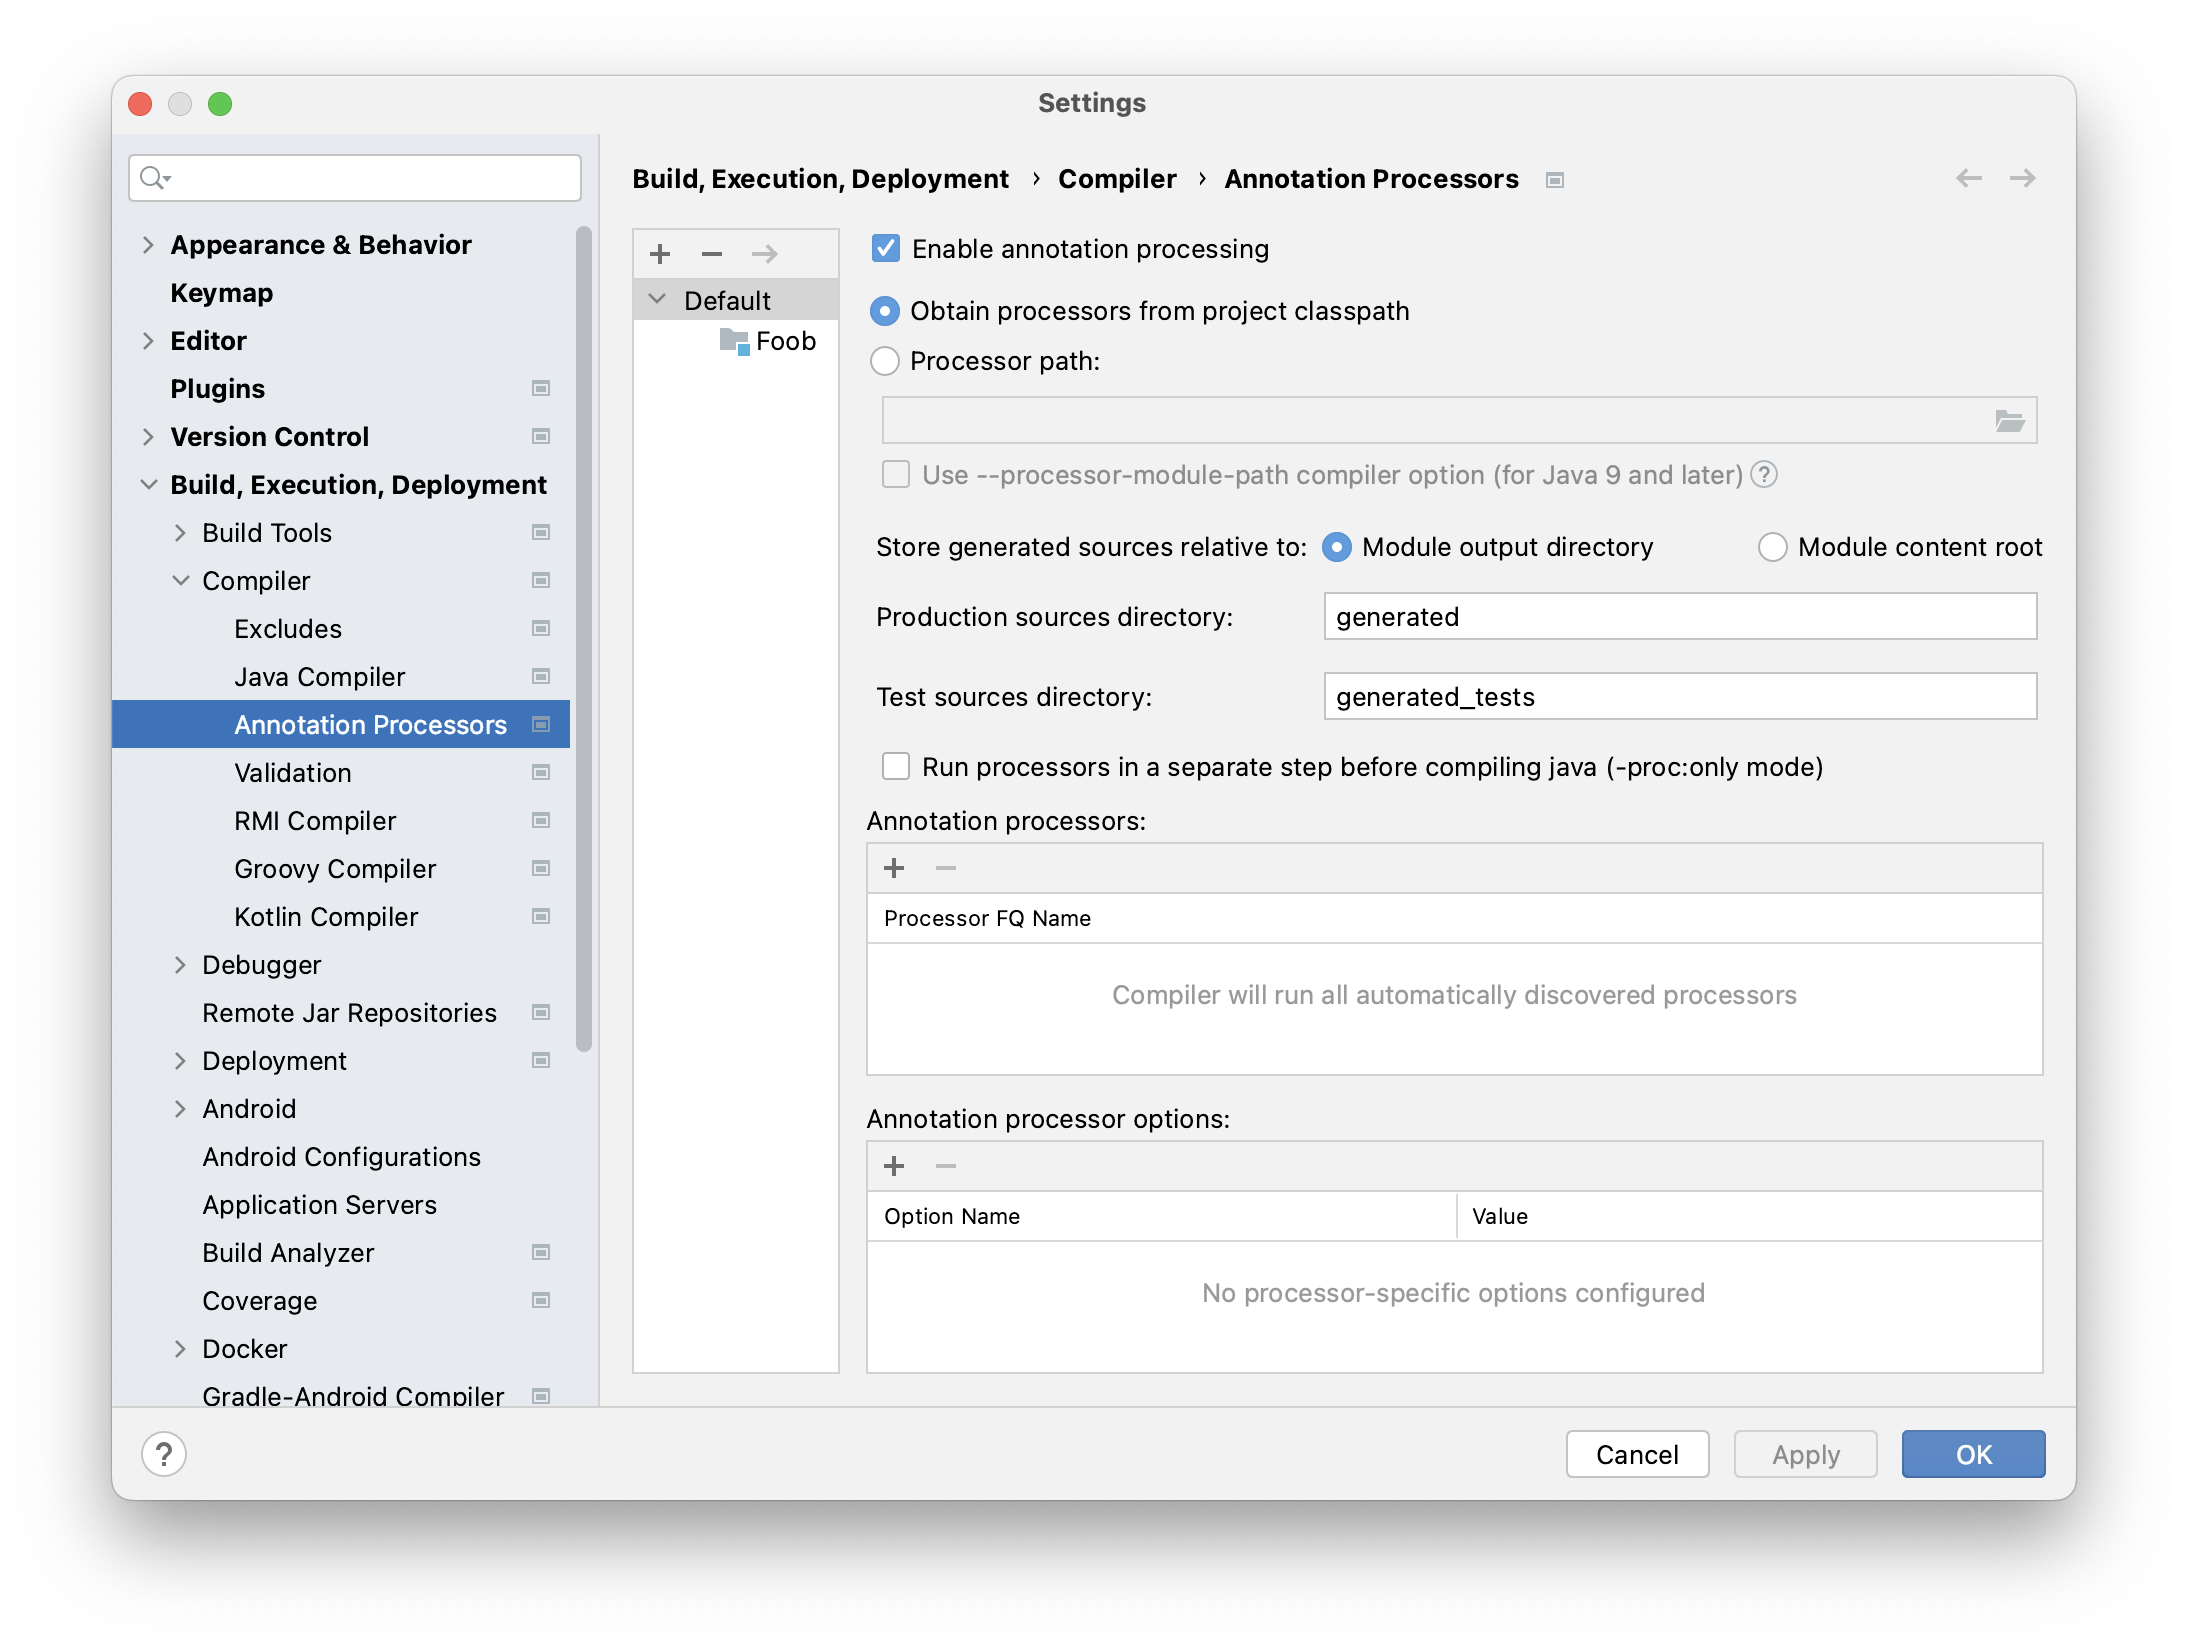
- Navigate to the
Build, Execution, Deploymententry, thenCompilerandAnnotation Processors. - Make sure
Enable annotation processingis enabled.
Add generated sources to the code completion
- Build your project. If things go well, you should see extra pre-compile tasks that generate code into a
generatedsubdirectory in your output directory. - Right-click the
generated subdirectory,Mark Directory As…, thenSources Root.
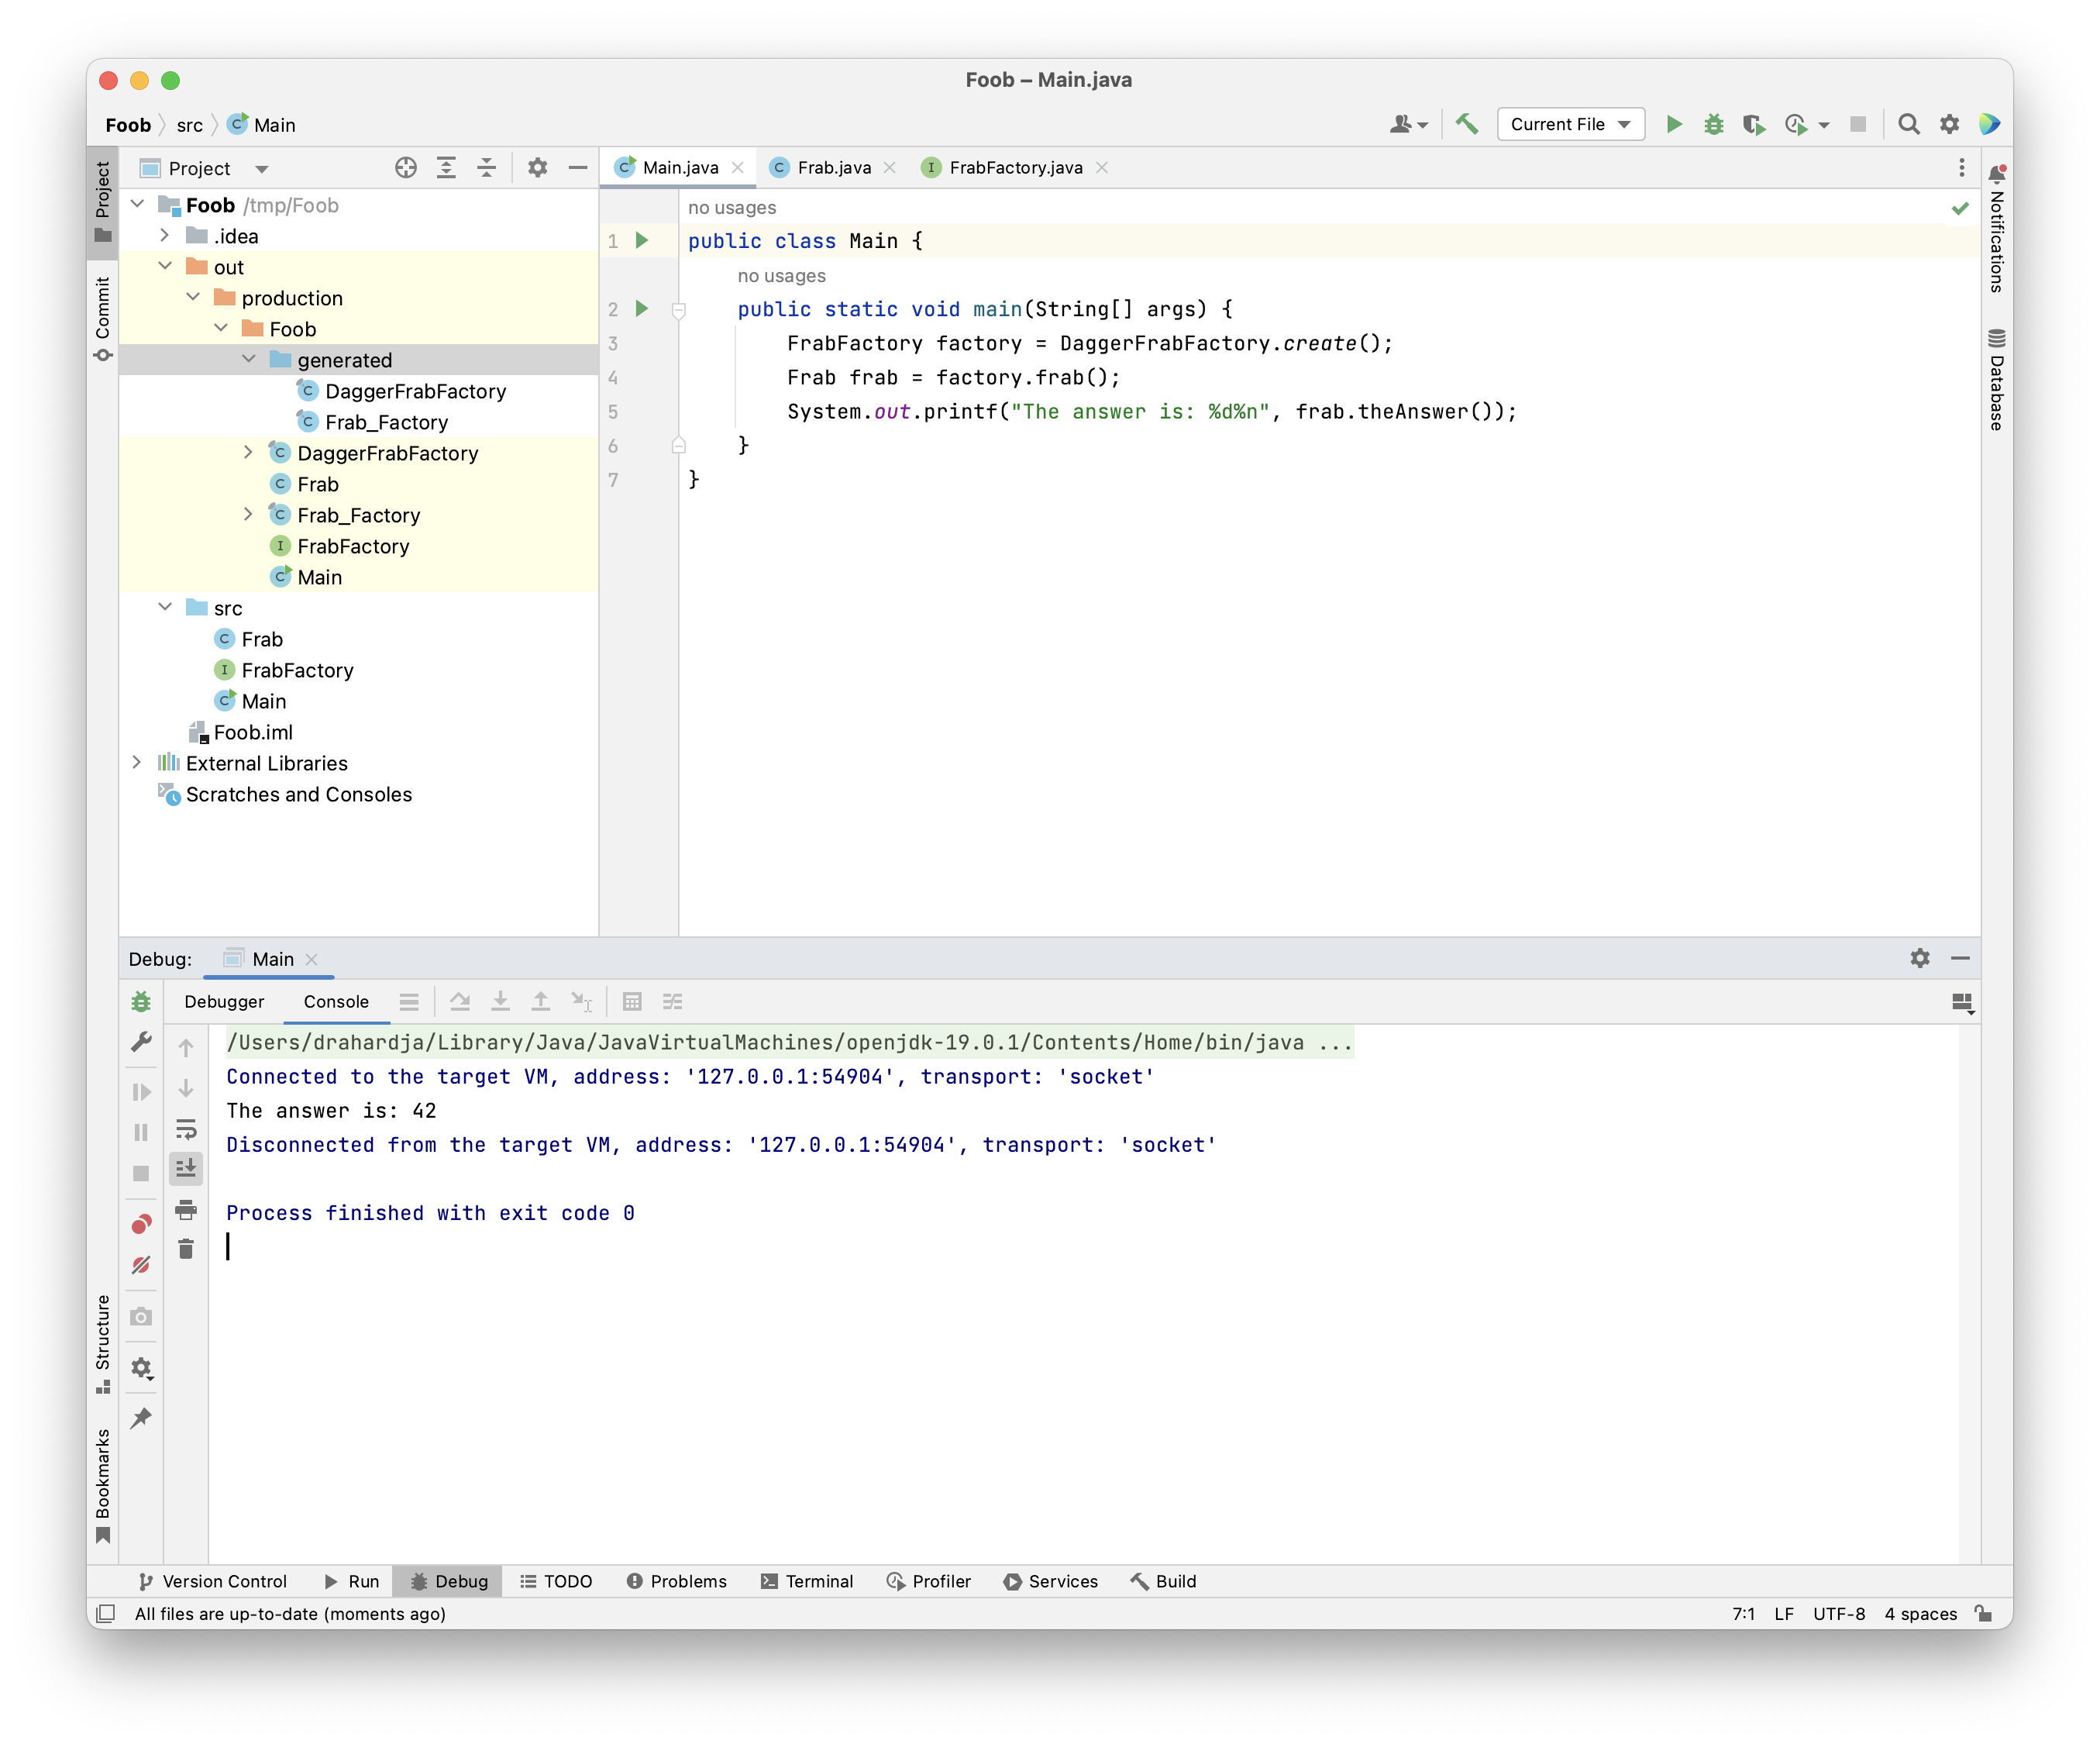
And that should get you to building, autocompleting, and running your code with Dagger.